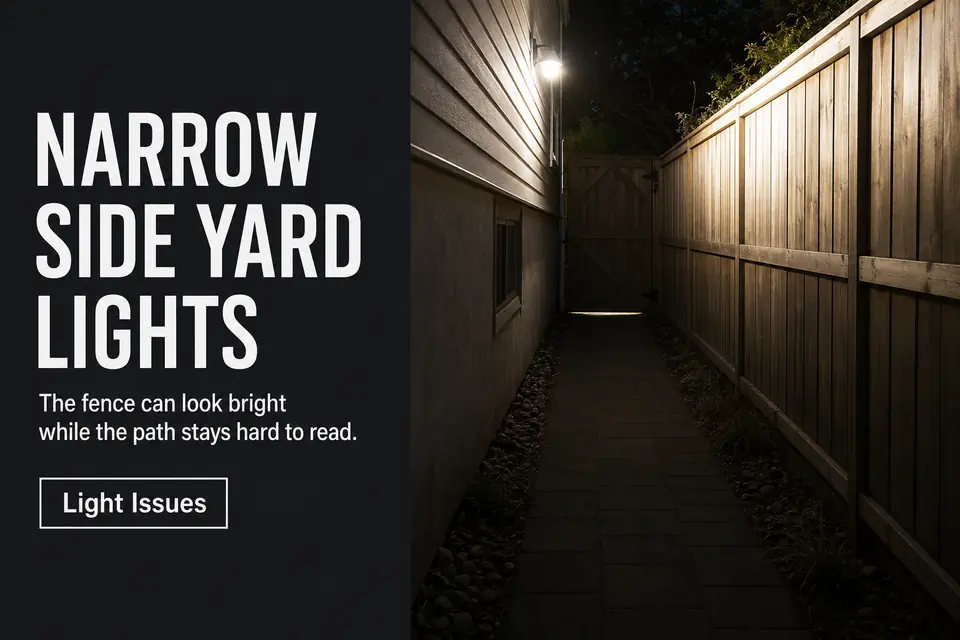
A narrow side yard can look illuminated from the house while giving almost no useful guidance to someone walking through it. The fixture is visible, the fence catches light, and the gate may appear bright—but the ground remains difficult to interpret.
The failure is not total brightness. It is a break in route visibility. Follow the path after dark and find the first point where an edge disappears, the gate threshold blends into the paving, or a shadow makes you shorten your stride. That transition, not the darkest surface in the entire yard, should control the correction.
This route-first test prevents the usual overcorrection: adding more output to a confined space where the existing light is already landing on the wrong surface.
Narrow Path
In a narrow side yard, the first surface hit by the beam often dominates the scene. A wall-mounted fixture that would spread light across an open patio may strike the opposite fence almost immediately, making the enclosure look bright while leaving little useful light on the walking plane.
That difference can be hard to recognize from a kitchen window or back door. You can see the side yard without being able to read paver joints, shallow level changes, edging, utility covers, hoses, or objects beside the wall.
Check the route from normal walking height rather than standing beneath the fixture and looking straight down. The important question is whether the surface remains recognizable several steps ahead. A similar placement failure occurs when front-walk lights miss the door: the surroundings receive light, but the transition the user needs remains weak.
Width changes deserve particular attention. A condenser, downspout, trash container, planting bed, or projecting gate post can compress an already narrow passage. The wider section may perform acceptably while the restricted point becomes the actual nighttime obstacle.
The first fix should not be a brighter lamp. Identify which surface receives most of the current light. If the fence is visually dominant and the path is not, the output is being spent in the wrong part of the scene.
Fence Shadow
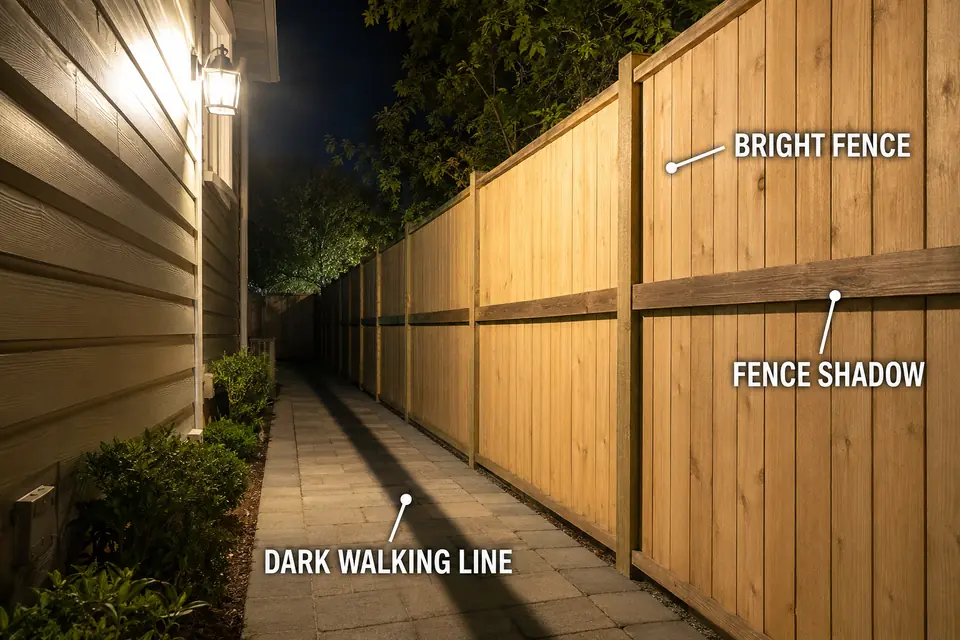
Treat the darkest strip across the path as a shadow-geometry problem before assuming the fixture is underpowered. Fence posts, rails, caps, boards, and nearby plants can divide one beam into alternating bright and dark bands.
A high house-mounted light may strike a fence rail and cast a long shadow onto the path. A projecting post can produce a narrower but deeper interruption. Because the passage is confined, either shadow may cover most of the usable walking width.
The failure is often easiest to see from the far end of the yard. Look back toward the source and compare the bright fence with the ground immediately beside it. Clear fence boards paired with an indistinct path edge indicate that the light is reaching the enclosure but not the route.
Adding another fence-mounted source can repeat the mistake. When fence lights shine in the wrong direction, the opposite wall, neighboring property, or viewer’s eyes may receive more light than the ground.
Temporarily remove tall containers, leaning tools, or dense foliage from the suspected shadow line. If the dark band changes, the movable obstruction is contributing to the failure. If it remains fixed, the mounting position, beam direction, or fence structure is the more likely control.
A restrained downward adjustment may be enough when the fixture can reach the near ground without producing direct glare. If a rail or post still intercepts the beam, increasing output at the same position will mostly create a brighter obstruction.
Gate Gap
Judge the gate as a moving obstruction, not a fixed endpoint. Its leaf, post, and hardware alter the light pattern depending on whether the gate is open or closed and which direction the user approaches from.
With the gate closed, the leaf may block light from reaching the threshold or the path beyond it. When open, the same gate may cast a new shadow across the approach. A bright gate face does not solve either condition if the bottom edge and ground transition merge into one dark area.
Test both positions from both ends of the route. Confirm that you can identify the latch area, bottom of the gate, threshold, and first section of path beyond it without looking directly toward the fixture.
Pay particular attention to a raised sill, single step, gravel-to-paver transition, or narrow opening beside a gate post. These small changes need visible shape rather than dramatic brightness. A controlled source arriving from the side can reveal their form more effectively than a strong source aimed toward the person entering.
If the threshold fails from only one direction or in only one gate position, correct that approach. Lighting every side of the gate would add brightness without addressing the specific moment when the route becomes unreadable.
Dark Ground
If light reaches the ground but the path still disappears, diagnose surface contrast rather than output. Dark concrete, charcoal pavers, mulch, gravel, and weathered wood can remain visually flat beside a much brighter fence or painted wall.
Wet conditions complicate that contrast. Some areas develop bright reflections while joints, leaves, shallow depressions, and edge changes become less distinct. Increasing output may strengthen the reflections without revealing the details that affect footing.
Path boundaries can fail in the same way. Dark gravel beside dark pavers may erase the usable edge, while a hose or black edging strip disappears against both materials. Recurring dark gaps between pathway lights become more disruptive when they coincide with one of these low-contrast transitions.
Judge the surface while looking several feet ahead, as you would while walking. If the route is readable only when you stop and search directly beneath each fixture, the lighting is illuminating points rather than supporting movement.
Clean a dirty lens, trim foliage, and remove temporary obstructions before changing the layout. When those checks do not affect the dark area, beam direction or surface contrast—not neglected maintenance—is controlling the result.
Low Guide Light
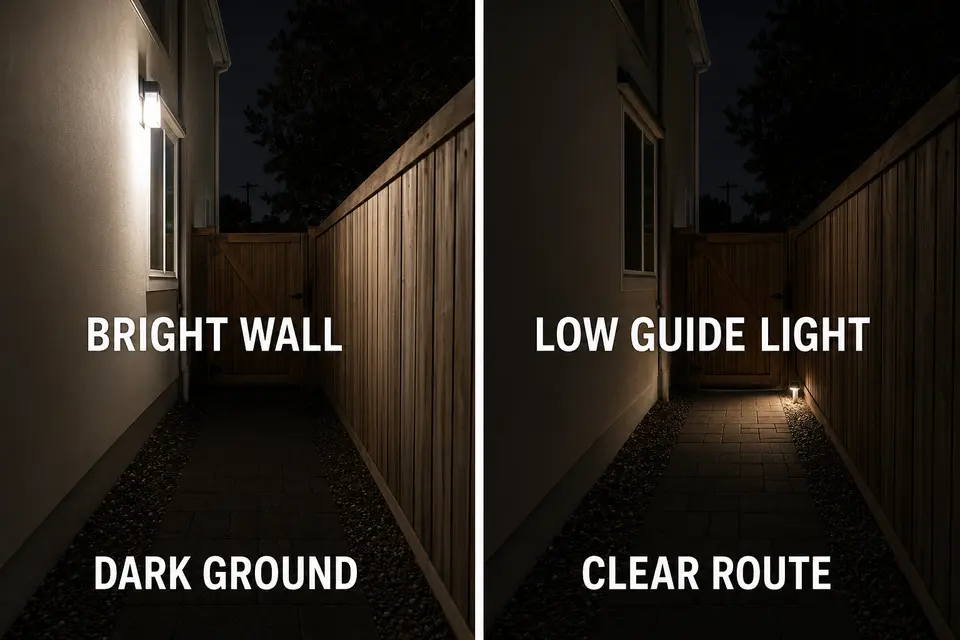
Add low guide light only after confirming that the existing source cannot be re-aimed past the fence rail, gate post, or turn. Its job is to repair one broken transition, not raise the brightness of the whole corridor.
Priority locations include a step, gate threshold, width change, turn around equipment, or persistent shadow pocket. A controlled downward source near that point can connect two visible sections of the route without competing with the brighter wall or fence.
The source itself should remain secondary. In a confined passage, an exposed low lamp can sit directly in the normal line of sight and make the space beyond it harder to see. The principles behind walkway lighting without uncomfortable glare matter even more when there is little room to move away from the fixture.
Avoid installing identical lights at short, rigid intervals simply because the passage is narrow. That pattern can resemble an airport runway while preserving alternating bright and dark patches between fixtures. Place guidance where the route changes or where the existing system demonstrably fails.
Low guide light is unnecessary when a modest adjustment to the current beam can reveal the same transition without glare or spill. Add another layer only when fixed geometry prevents the existing light from reaching the walking plane.
Route Test
A successful correction must work under normal arrival conditions, not only after your eyes have adjusted to the yard. Wait until full darkness, begin at the entrance used most often, and walk at a normal pace while looking ahead.
Note the first location where you hesitate, look down suddenly, or move closer to the house or fence. Repeat the route from the opposite end, then make separate passes with the gate open and closed.
Test again after briefly standing in a brighter garage, kitchen, or patio. A path that feels acceptable after several minutes outside may become difficult to read immediately after leaving a bright space.
The route is working when its edges, constrictions, gate threshold, and level changes remain recognizable without staring at individual fixtures. If one point still causes hesitation, correct that transition before increasing brightness elsewhere. The useful result is not a uniformly bright side yard; it is an unbroken walking line.
For broader guidance, DarkSky International recommends keeping outdoor light useful, targeted, low-level, controlled, and no brighter than necessary in its Five Principles for Responsible Outdoor Lighting.