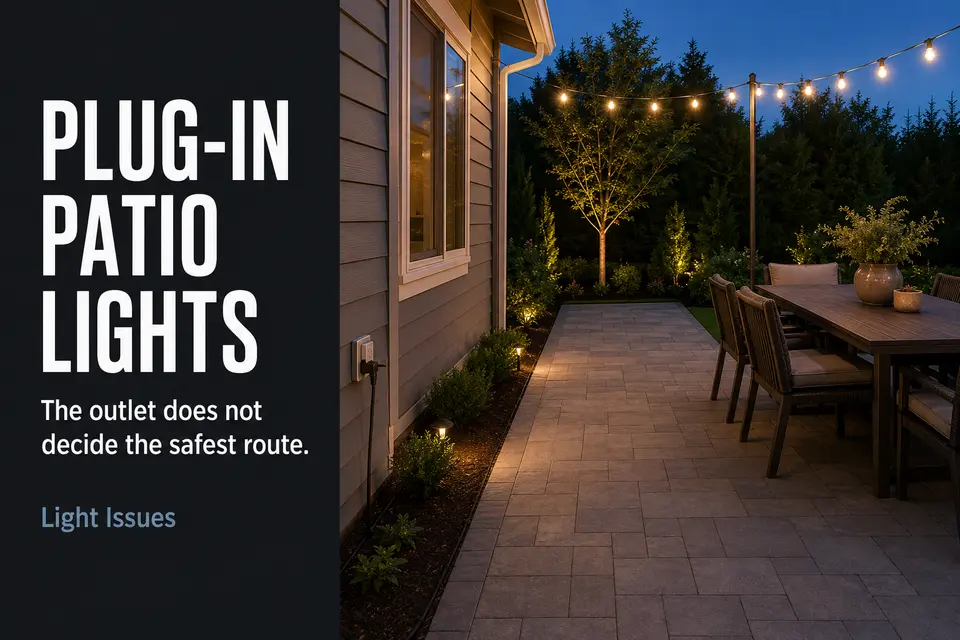
Cord routing is not a cleanup task to handle after patio lights are hung. It is the constraint that should decide where the first light begins.
A setup can look clean overhead while the power path below crosses a doorway, disappears behind moving chairs, or leaves a connection in a wet low point. Hiding that cord does not repair the layout.
The useful test is whether the complete path from the outlet to the first light stays outside the patio’s active use zones.
Trace that path before committing to the light position. Test it with doors open, chairs pulled back, and people moving between the house, seating, lawn, grill, and gate. If the route fails under normal use, the overhead arrangement needs to move.
Outlet Location
Choose the outlet by the route it creates, not simply by its distance from the lights. Plug in the actual light cord, timer, or adapter and check the direction in which the cord must leave the receptacle. A side-facing plug or bulky timer can turn an apparently convenient outlet into an awkward starting point.
Follow the proposed path to the first powered light. Account for the back-door swing, steps, downspouts, planters, furniture, and the approach to a grill or gate. A nearby outlet is the weaker choice when it saves cord length by sending the cable diagonally across active space.
Power should come from a GFCI-protected outdoor receptacle, but electrical protection does not correct bad placement. When every path from the outlet crosses a threshold, step, or central walking line, move the first light point or reconsider the power source.
In that condition, a no-wire outdoor lighting approach may fit better than forcing a cord through the patio.

Do not finalize the overhead run until the ground-level path works. A small shift in the first light position can replace an exposed shortcut with a continuous perimeter route without materially changing the illuminated area.
Trip Risk
Reject a crossing according to where people actually walk, not where the patio appears empty. The active route may be an informal line from the back door to the table, from a chair to the lawn, or from the grill to a serving surface. A cord placed across that line will eventually be stepped on, kicked, or pulled.
Low light makes the conflict harder to read. A dark cable can blend into pavers or decking, while a connector or slack loop introduces an unexpected change in height. Diagonal shortcuts are particularly weak because they intercept movement from several directions.
Surface transitions deserve the same scrutiny. A cord that leaves the wall to cross a step, threshold, deck joint, or raised paver edge can lift or collect slack. Covering it may reduce its profile, but it does not turn a frequently used crossing into a strong route.
Cord Route Along Edges
A perimeter route works only when the selected edge remains inactive from the outlet to the point where the cord rises to the lights. A house wall, fixed fence, deck boundary, or quiet patio edge can work; an edge shared with a doorway, gate approach, or chair zone cannot.
The longer route is often the cleaner one. Following the perimeter keeps the cord out of the center, provided it does not cut back across the patio at a corner or near the first light. Direction changes should remain controlled, without loose loops, sharp bends, or tension at the plug.
Pay close attention where surfaces change. A cord may sit predictably beside a wall and then lift where concrete meets decking or edging interrupts the path. It should also remain accessible for inspection. Running an ordinary flexible cord through a wall opening, behind permanent trim, or beneath a fixed surface creates an improvised wiring condition while hiding wear.
Planters and fixed benches can protect a genuinely inactive edge. Movable storage, dining chairs, and rolling grills do not. If the route depends on those objects never shifting, it is not controlled by the layout.

Seating Zone Conflicts
The chair test exposes edges that only look inactive while the patio is staged. Pull every dining chair into a realistic occupied position, then farther back so someone can stand and leave. Adjust lounge chairs, move side tables, and approach the seating from the directions people naturally use.
A wall edge often doubles as chair-pullback space. Rear legs may land on the cord, drag it away from the wall, or trap it against a hard surface. Furniture can also conceal a plug until one movement applies sideways tension to the connection.
Change the route before trying to protect it from the furniture. Moving the first light connection, using the opposite perimeter, or slightly adjusting the seating position is stronger than relying on one chair to remain precisely placed.
Include movement around the furniture, not just movement of it. Someone carrying food behind a chair or walking around the table needs a predictable approach. A cord within that space means the edge is still active.

Weather-Safe Connections
Weather protection begins with connection placement, not with adding a cover to a poor location. Use outdoor-rated lights and cords suited to the intended use, powered from a GFCI-protected outdoor receptacle. Indoor cords, damaged plugs, and chained extension cords do not become appropriate because the desired light position is difficult to reach.
Test the outlet cover with the complete operating arrangement inserted. A cover that closes when empty may not close around a timer, adapter, or bulky plug. The detailed fit test belongs in the guide to how an outdoor outlet cover works while lights remain plugged in, but the layout boundary is simple: never force the lid or sharply bend the cord to make the arrangement fit.
Keep plugs and intermediate connections outside low spots, roof runoff, patio drainage, and direct irrigation spray. Check whether the cord itself can guide water toward a connection. A protective enclosure does not make a puddle, drainage channel, or sprinkler path an acceptable location.
Each connection also needs a relaxed approach. Tension from the suspended light run or a tight corner can pull at the plug and disturb its protection. Repeated tripping, unusual warmth, scorch marks, exposed conductors, or a need for permanent new power is no longer a cord-placement problem.
Clean Layout Test
The final test begins after the patio stops looking staged. Turn on the lights after dark, walk the normal routes, open every nearby door and gate, and move the furniture into the positions used during an ordinary evening.
Use this six-point check:
- The cord leaves the outlet without forcing the cover or plug.
- The complete route stays outside normal walking lines.
- Doors, gates, steps, and thresholds remain clear.
- Chairs and tables can move without touching or trapping the cord.
- Connections remain away from pooling water and direct spray.
- The route stays controlled after the patio is used, not only when it is staged.
Watch what changes during the test. A cord that pulls away from the wall, tightens when a chair moves, or shifts when a door opens has failed even if nobody trips over it immediately. Adjust the first light position or perimeter path instead of managing the conflict with reminders.
When the test reveals damaged components, recurring faults, or the need for permanent power, the next decision is when the outdoor lighting problem needs an electrician. Layout changes can remove a physical conflict; they cannot make defective equipment or improvised permanent wiring acceptable.
The route passes only when it works without warnings, protected furniture positions, or repeated adjustment. If people must remember where the cord is, cord clutter is still controlling the patio.
For additional outdoor electrical protection guidance, see the U.S. Consumer Product Safety Commission’s GFCI fact sheet.