Uneven or dim solar lights are almost always the result of interrupted energy flow between the panel, battery, and LED. If one fixture along a straight driveway edge glows brightly while another just three feet away looks weak, the difference is not random. It usually comes down to unequal sun exposure, early battery fatigue, or internal moisture affecting contact points inside the housing.
The issue begins during daytime charging, not at night when you notice the dimming. If a panel sits at a slight angle under a tree branch or along a fence line that casts a shadow by mid-afternoon, it may lose two hours of direct light. That shorter charge window reduces stored energy and lowers brightness after dusk.
This behavior is common and correctable, but it becomes problematic when the pattern repeats nightly despite clear weather and open sky. A one-time cloudy day is normal. Ongoing dimming in the same position signals a recurring structural condition.
Many homeowners believe dim lights automatically mean the batteries are “dead.” That belief is often incorrect. In many cases, the battery is functioning, but the panel never reached full charge due to slope direction, shade overlap, or debris on the surface.
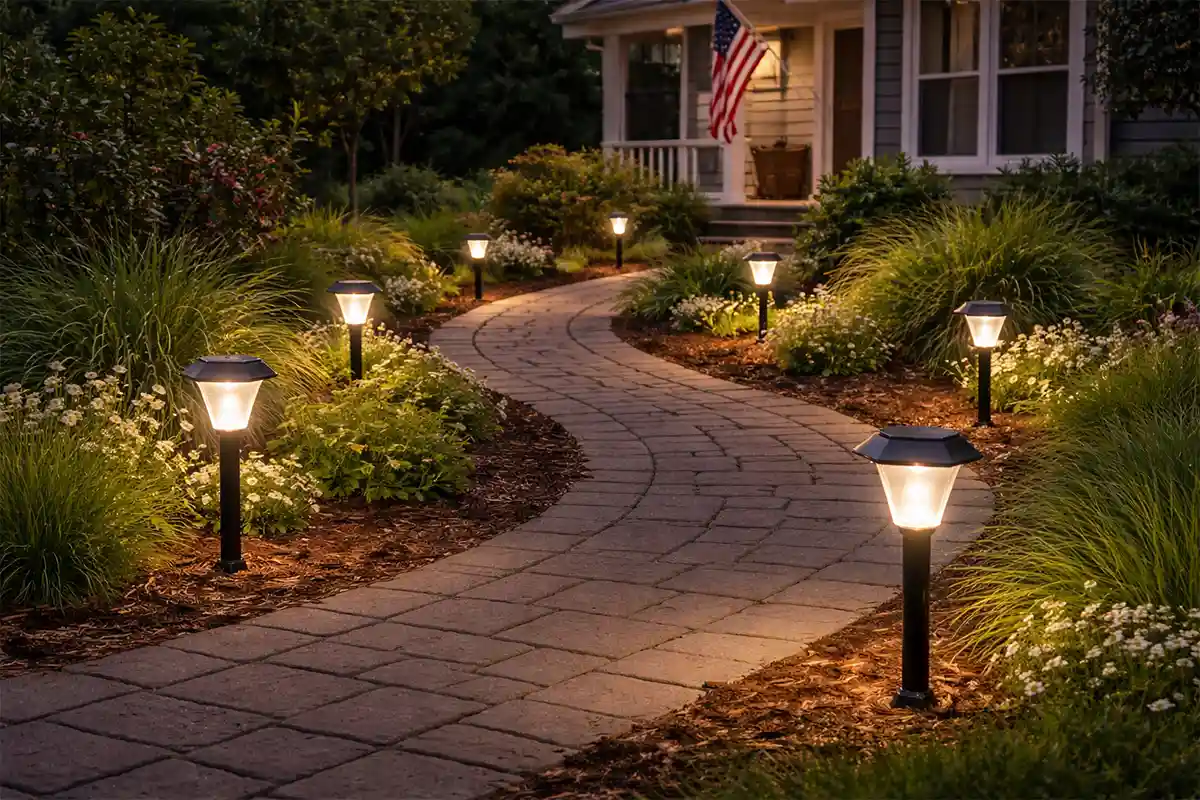
From a few steps back, the difference is obvious. One light forms a clean, bright circle on the walkway, while the next leaves a faint halo that barely reaches the concrete seam. The contrast feels uneven, even if both fixtures were installed at the same height.
The structural cause is almost always reduced voltage delivery created by charging imbalance, internal resistance, or compromised contact surfaces.
Uneven Sun Exposure Is the Most Overlooked Cause
A fixture placed near a roof overhang, siding corner, or fence post often receives less direct light than one positioned in open yard space. Even a small height difference along a sloped garden bed can change the panel’s exposure angle relative to the sun’s path. Over weeks, that exposure gap reduces stored energy and shortens nightly runtime.
Solar panels require consistent direct light to reach optimal charging voltage. Partial shade does not simply reduce brightness slightly; it can interrupt charging efficiency in a way that compounds over time. If one light sits near reflective pavement and another sits over darker soil, heat absorption and panel temperature may also differ.
Relocating the dim unit a few inches away from a shadow line or trimming the overhanging branch often corrects the imbalance. If brightness improves immediately the following night, the issue began at the panel surface.
Battery Degradation Reduces Output Stability
Rechargeable cells gradually lose capacity after hundreds of charge cycles. As internal resistance rises, voltage delivery becomes less stable, which causes flicker or early shutoff. The dim light you see near the driveway edge may reflect that resistance buildup rather than total battery failure.
Heat trapped inside sealed plastic housings accelerates chemical wear. Units installed along stone borders or dark siding may experience higher internal temperatures during the day. That localized heat difference can cause one battery to degrade faster than another installed at the same time.
If runtime shrinks despite clear sun exposure and clean panels, battery fatigue becomes more likely. Dimming that worsens steadily over months suggests cumulative wear rather than a single external event.
Corrosion Inside the Housing Disrupts Power Flow
Moisture often enters through small seams where the lens meets the casing or where the stake joins the body. After heavy rain or irrigation spray hitting the lower contact plane, condensation can form on metal terminals. That oxidation layer restricts current flow between the battery spring and the circuit board.
Corrosion does not always cause total failure at first. Instead, it creates gradual voltage drop, making the light appear weaker while still turning on at dusk. If you open the housing and see white or green residue along the contact points, resistance is already interfering with power transfer.
This condition typically develops over repeated wet cycles rather than one storm. When the same fixture dims after each rain event, the pattern confirms internal moisture as the starting point rather than simple battery decline.
LED Aging Changes Light Intensity Over Time
LEDs slowly lose luminous intensity as internal semiconductor layers degrade. Heat buildup around the circuit board, especially in fixtures mounted near warm siding or concrete surfaces, accelerates that decline. The change is subtle at first, producing a slightly softer glow that becomes more noticeable when compared side by side.
Unlike charging imbalance, LED aging does not improve after repositioning or panel cleaning. The dimming remains consistent regardless of slope direction or sunlight duration. When one fixture appears permanently weaker even after a full, sunny day, diode aging is likely contributing.
At this early stage, brightness inconsistency signals where the energy pathway begins to shift from normal performance toward repeated decline.
Voltage Drop Patterns and Runtime Behavior Differences
When one light along the driveway edge glows brightly for two hours and the next fades within 30 minutes, the correction starts at the power path, not the lens. If a unit sits 1 inch lower in compacted soil, moisture may collect around the base and increase internal resistance. Raising that fixture slightly so the stake sits flush and the housing stands upright often improves electrical stability because water stops pooling around the contact plane.
Will lifting a light by an inch really change brightness?
Yes. Elevating the base above soggy soil improves drainage and reduces corrosion at the lower contact point.
If one light fades after 45 minutes, is the battery always bad?
Not necessarily. Incomplete charging due to a shadow line across the panel can cause early voltage drop.
Does runtime matter more than brightness?
Both matter, but runtime reveals charging balance. A light that dims gradually after two hours behaves differently than one weak from the start.
Can swapping battery positions between two fixtures help diagnose the issue?
Yes. If the dim behavior follows the battery to the higher spot along the walkway, the battery is likely the limiting factor.
When voltage drops early in the evening, adjusting exposure changes behavior. Rotating the panel slightly toward open sky rather than toward a siding wall often extends runtime because the charging window increases. Once the panel receives fuller afternoon light, the LED holds steady longer instead of fading unevenly.
Manufacturing Variability and Component Tolerance
Even two fixtures placed at the same height along a straight concrete seam can age differently. If one sits closer to a dark brick wall that absorbs heat, its internal battery temperature may rise several degrees higher each afternoon. Moving that fixture 6 to 12 inches away from the wall reduces thermal stress and can slow uneven degradation.
Small positional changes also rebalance performance. When both lights are repositioned to equal sunlight zones, brightness differences often narrow. The visible result is more consistent glow across the 4-foot span of the pathway rather than alternating bright and weak patches.
Some homeowners believe buying a stronger battery alone solves uneven brightness. That belief can be misleading if one unit still sits in partial shade. Without correcting placement, higher-capacity batteries simply discharge under the same limited charging conditions.
Moisture Migration and Thermal Cycling Effects
If condensation forms inside the housing after a cool night, the adjustment begins at the seal line. Tightening the lens cap or replacing a worn gasket stops humid air from entering when temperatures drop near the soil surface. Once moisture intrusion slows, corrosion buildup around the battery spring decreases, and brightness steadies over successive nights.
Raising the fixture slightly above a low runoff zone also changes behavior. When irrigation water no longer splashes against the lower casing within a 2-foot spray arc, internal oxidation slows. Over time, reduced corrosion means voltage remains stable rather than fluctuating after rain.
Temperature shifts can loosen internal connections. Gently reseating the battery so it fits firmly against the contact spring improves conductivity. After that small correction, flickering during cooler evenings often fades.
Misinterpreting Charging Problems as Brightness Failure
If the panel surface looks dull or dusty under direct sunlight, cleaning becomes the first physical adjustment. Wiping the top lens until it reflects a clear window line often restores charge intake. Once debris is removed, the battery stores more energy during the same daylight hours, and evening brightness increases noticeably.
A deeper look at charging system behavior is explored in Why Your Solar Outdoor Lights Aren’t Charging — And How to Fix It, which explains how panel performance and circuitry affect stored energy stability. When charging efficiency improves, early dimming patterns typically weaken within a few cycles.
Simply replacing batteries without cleaning panels is a common mistake. If the surface remains partially blocked, new cells discharge under the same limited intake conditions, and the visible dimming returns along the same walkway section.
Boundary Conditions: When Repair Stops Being Efficient
There are moments when adjustment no longer shifts behavior. If corrosion spreads across the circuit board near the LED base and the contact pad shows visible pitting, brightness may not stabilize even after cleaning. At that point, the structural integrity of the internal pathway is compromised.
When plastic housings crack along the seam or the panel surface hazes permanently, light absorption drops below recovery level. Even after repositioning and sealing, output remains weak along the driveway line. Recognizing this threshold prevents repeated minor fixes that do not change visible performance.
System-Wide Environmental Influences
Landscaping growth can slowly shift exposure patterns. A shrub that grows 8 inches taller over one season may cast a longer afternoon shadow across a 3-foot strip of lights. Trimming that branch reopens the charging window, and brightness across the row becomes more uniform.
In another case, redirecting sprinkler heads so runoff no longer hits the base reduces moisture exposure. Once water stops pooling at the lower contact zone, corrosion progression slows, and dimming becomes less frequent.
When small physical adjustments align placement, exposure, and drainage, the uneven glow along the pathway gradually evens out, and repeat dimming patterns begin to weaken.