Quick Solution Summary
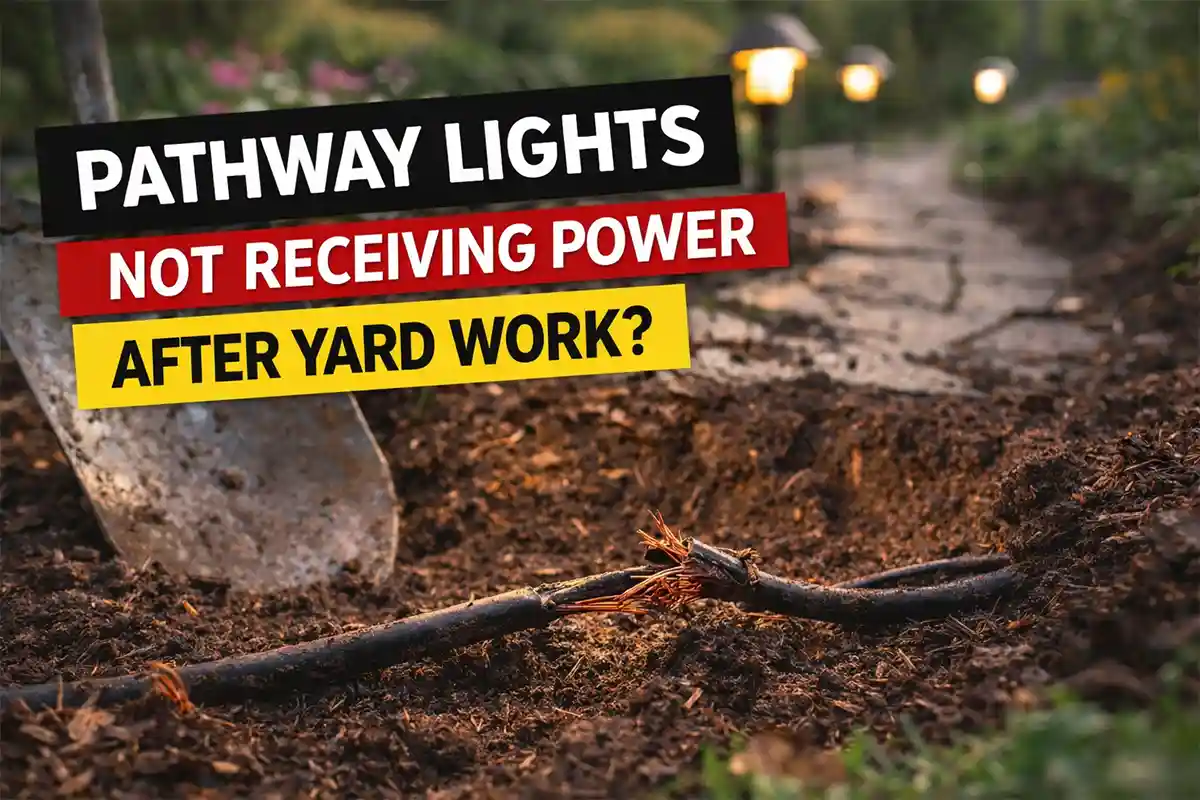
If your pathway lights stopped receiving power right after yard work, the most common cause is accidental damage to underground low-voltage lighting cables. Landscape lighting wires are typically buried only 4–6 inches below soil, making them easy to cut or pull loose during activities like planting shrubs, installing irrigation lines, edging garden beds, or digging for fence posts.
In most cases, the transformer continues supplying 11–15 volts AC, but electricity never reaches the fixtures because the cable was severed or the insulation was damaged. When this happens, all lights downstream from the damaged point usually go dark at the same time.
Start by checking the section of yard where digging occurred. Look for exposed wiring, disturbed soil, or loose connectors. If a break is found, repairing the cable with waterproof gel splice connectors and heat-shrink tubing typically restores the system within 15–30 minutes.
Preventing future issues often involves burying cables slightly deeper, marking cable routes before landscaping projects, and using direct-burial landscape lighting cable rated for underground installation.
Why Pathway Lights Often Lose Power After Digging
Landscape lighting systems are designed for easy installation. Most residential setups use 12-gauge or 14-gauge direct burial cable, which runs from the transformer to each fixture along a pathway.
Because the cable sits shallow in the ground, it can easily be hit during routine yard maintenance.
Common activities that damage lighting wires include:
-
planting trees or shrubs
-
installing sprinkler systems
-
digging for drainage pipes
-
edging lawn borders
-
installing pavers or pathway stones
-
soil aeration
In regions with hard, dry soil like Arizona, shovels often penetrate deeper than expected when extra pressure is applied. In contrast, Midwestern spring rainfall softens soil, allowing tools to cut deeper into buried cables.
When a cable is nicked rather than fully cut, lights may still work temporarily but begin flickering or dimming before eventually shutting off. In some situations, electrical resistance gradually increases due to internal conductor damage.
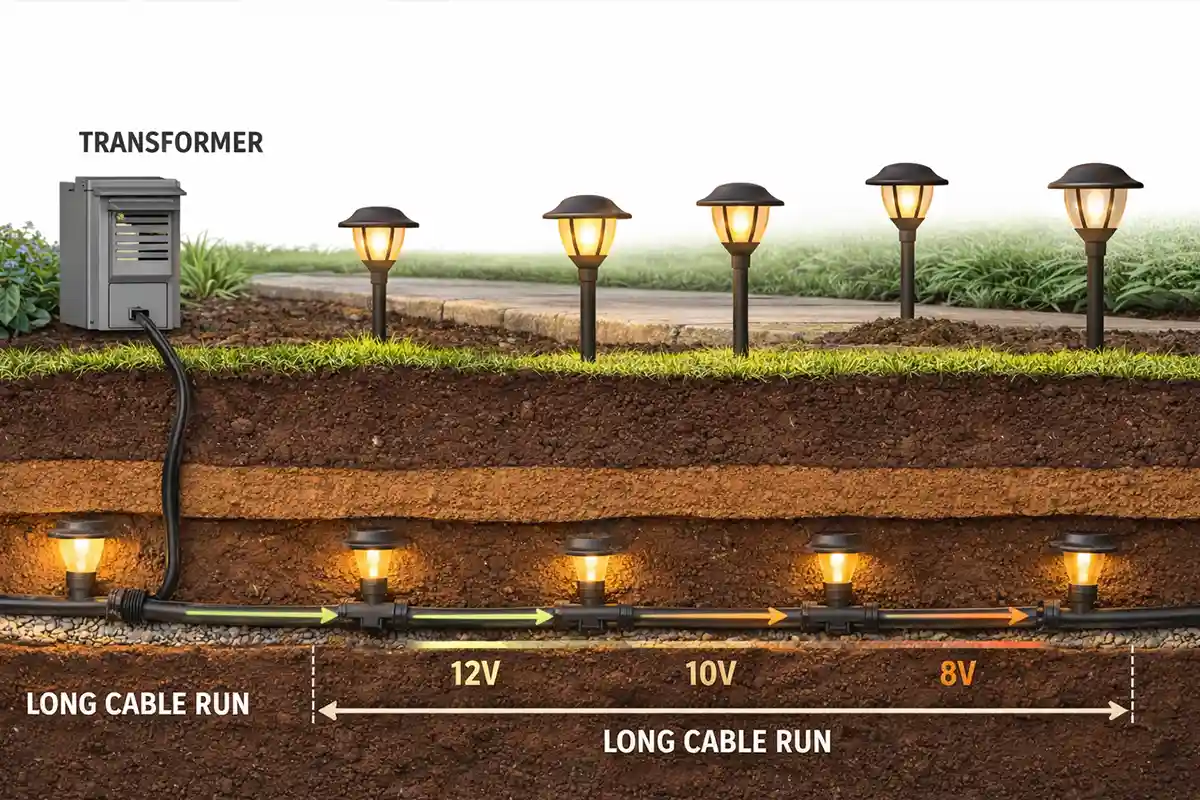
Power distribution problems can also appear similar to wiring damage, especially in longer systems where voltage loss accumulates across multiple fixtures. This behavior is explained further in Voltage Drop in Outdoor Lighting Systems.
Quick Diagnostic Checklist
Use this checklist before digging up large sections of your yard.
✔ Confirm the landscape lighting transformer indicator light is on
✔ Check whether the outdoor GFCI outlet or breaker has tripped
✔ Inspect areas where digging or landscaping recently occurred
✔ Look for exposed copper wire or damaged insulation
✔ Test voltage output at the transformer using a multimeter
✔ Verify whether lights closest to the transformer still work
If nearby lights function normally but distant fixtures remain off, the cable likely broke somewhere along the route.
Common Landscape Lighting Cable Damage Scenarios
| Yard Work Activity | Typical Damage | Likelihood | Recommended Fix |
|---|---|---|---|
| Shovel digging | Cable cut completely | High | Install waterproof splice connector |
| Lawn edging | Insulation nick | Medium | Seal with heat-shrink repair |
| Fence or post installation | Cable crushed | Medium | Replace short cable section |
| Soil aeration | Multiple punctures | Low–Medium | Replace affected segment |
| Mulch removal or planting | Loose connector separated | Medium | Reconnect and seal splice |
Even small insulation cuts can cause long-term problems. Moisture entering exposed copper wires can trigger corrosion within 2–6 weeks, eventually interrupting electrical flow.
Signs Your Underground Cable Was Damaged
Only Part of the Pathway Is Dark
If some lights still work while others remain off, the break usually occurs between the last functioning fixture and the first one without power.
This pattern commonly appears in branch-style wiring layouts. A similar scenario is discussed in Outdoor Lights Not Working on One Side of the Yard.
Lights Failed Immediately After Landscaping
A sudden failure right after digging strongly indicates a cable strike.
Unlike indoor wiring, landscape lighting rarely fails instantly unless there is physical damage to the conductor or connector.
Transformer Still Shows Output Voltage
Testing the transformer with a multimeter should show 11–15 volts AC. If voltage is present but no lights operate downstream, power is being interrupted somewhere along the cable path.
How to Trace the Underground Cable Path
Before repairing anything, it helps to locate the exact cable route.
In many installations the wire runs directly from the transformer to the first light, then continues from fixture to fixture along the pathway.
Here are several ways to trace it:
Visual tracing
Follow the line of fixtures. Landscape installers usually run cable along the same path as the lights, buried just beside them.
Soil disturbance clues
Fresh landscaping often leaves subtle signs such as loose mulch, uneven soil, or shallow trenches where the cable may have been exposed.
Multimeter testing
Using a multimeter, you can test voltage at each fixture connection point. When voltage suddenly disappears between two lights, the cable break usually lies within a few feet of that gap.
Cable tracing tools
Professional installers sometimes use underground wire tracers, which emit a signal along the cable to identify its path beneath soil.
If the break occurred due to severe mechanical damage, the issue may resemble broader failures described in Underground Lighting Cables Damaged: Causes, Signs, and How to Fix Them.
Step-by-Step: Repairing a Damaged Pathway Lighting Cable
Most repairs take less than 30 minutes and require only basic tools.
1. Locate the Break
Dig gently along the cable route between the last working light and the first dark fixture. The break is usually within 12–24 inches of the digging area.
2. Turn Off the Transformer
Disconnect the transformer before handling wiring. Even low-voltage systems can spark if wires contact wet soil.
3. Remove the Damaged Cable Section
Cut out the damaged portion of wire using insulated cutters. Leave 1–2 inches of intact insulation on both remaining cable ends.
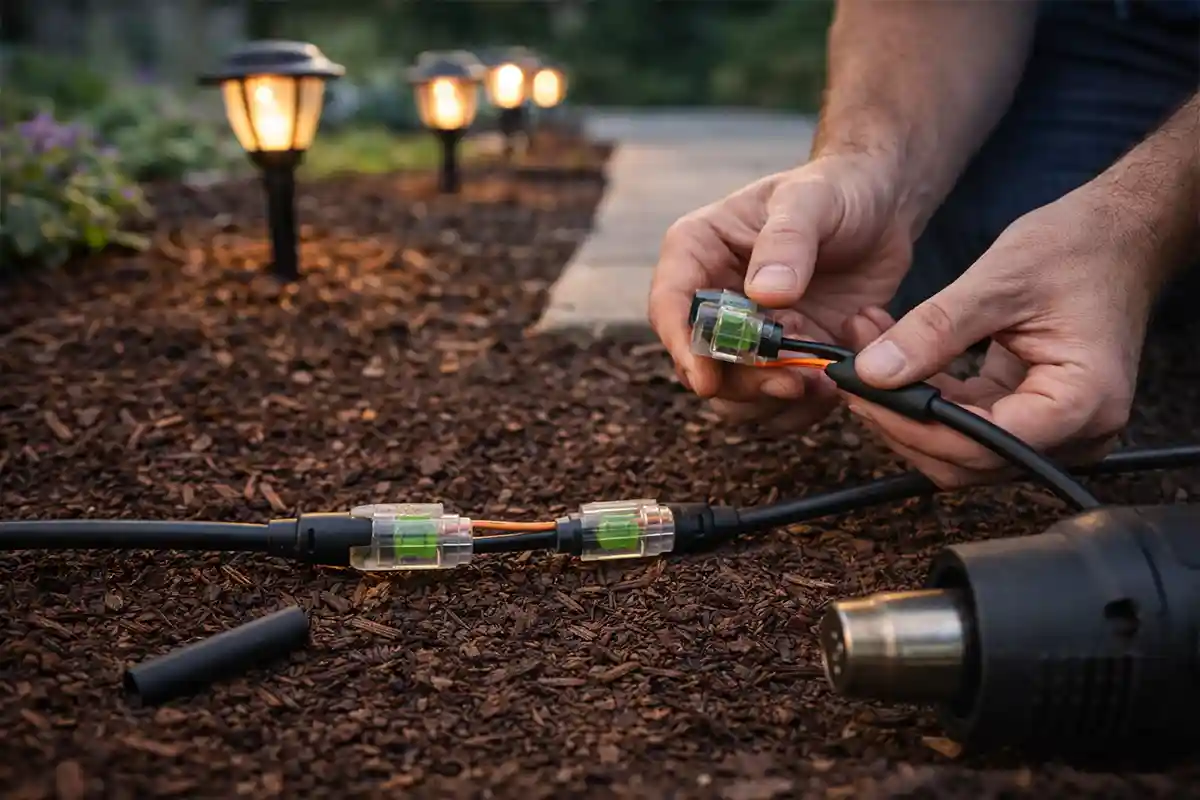
4. Install Waterproof Splice Connectors
Join the wires using outdoor-rated connectors such as:
-
gel-filled splice connectors
-
heat-shrink sealed joints
-
silicone-filled direct-bury connectors
These prevent moisture intrusion and maintain reliable conductivity.
5. Test the Lights
Reconnect the transformer and confirm the lights power on normally before reburying the cable.
6. Rebury the Cable Safely
Bury the repaired section 6–8 inches deep if possible. Adding a layer of sand beneath the cable can reduce mechanical stress from rocks or compacted soil.
Loose connectors can sometimes cause similar power interruptions, which are explained in Loose Outdoor Wiring Connections: How to Fix Them Safely and Permanently.
Environmental Conditions That Can Worsen Cable Damage
Even minor cable damage can worsen due to environmental exposure.
High humidity climates
In places like Florida, humidity levels often exceed 75–80%, accelerating corrosion inside damaged wiring.
Coastal environments
Salt-laden air near California coastlines can degrade exposed copper conductors much faster than inland climates.
Freeze-thaw cycles
Northern states experience soil expansion during winter freezes. Frozen soil can pull apart weakened connectors or widen small insulation cracks.
When moisture enters wiring connections, corrosion can spread through splice points. This process is explained in detail in Corroded Wire Splices Outdoors.
Preventing Landscape Lighting Damage During Future Yard Work
Preventive planning can save significant repair time.
Mark Cable Locations
Before digging or landscaping, mark cable paths with flags or small stakes. This helps avoid accidental cuts during projects.
Use Protective Conduit in High-Traffic Areas
Installing ½-inch PVC conduit around cables in frequently dug areas provides mechanical protection.
Bury Cables Slightly Deeper
Increasing burial depth from 4 inches to 6–8 inches reduces the risk of shovel strikes.
Avoid Tight Cable Bends
Sharp bends near fixtures create stress points where cables can loosen when soil shifts.
If lights repeatedly lose power at the far end of a system, the issue may relate to electrical distribution along the cable run, which is discussed in Outdoor Lights Losing Power at the End of the Line.
Key Insights
When pathway lights stop receiving power after yard work, the cause is usually accidental damage to shallow underground lighting cable. Digging tools, lawn edgers, and irrigation installations can easily cut wires buried only a few inches below the surface.
Fortunately, most repairs are straightforward. By locating the damaged cable, installing waterproof connectors, and reburying the wire properly, homeowners can restore lighting quickly without replacing the entire system.
Simple preventive measures—such as marking cable routes, using deeper burial depth, and installing protective conduit—can significantly reduce the risk of future power interruptions.
Frequently Asked Questions
How deep should pathway lighting cables be buried?
Most landscape lighting cables are installed 4–6 inches deep, but burying them 6–8 inches provides better protection from shovels, aerators, and edging tools.
Can a damaged cable still carry power?
Yes. A partially damaged wire may still transmit electricity temporarily, but corrosion often develops within weeks to a few months, eventually stopping current flow.
Why did only some of my pathway lights stop working?
Landscape lighting systems are typically wired in sequence. If the cable breaks between two fixtures, all lights downstream from that point will lose power.
Do I need to replace the entire cable run?
Usually not. Most repairs require replacing only a small section of cable, typically 6–12 inches, using waterproof splice connectors.
For safe outdoor electrical installation guidelines, consult the National Electrical Code resources provided by the U.S. Department of Energy: https://www.energy.gov