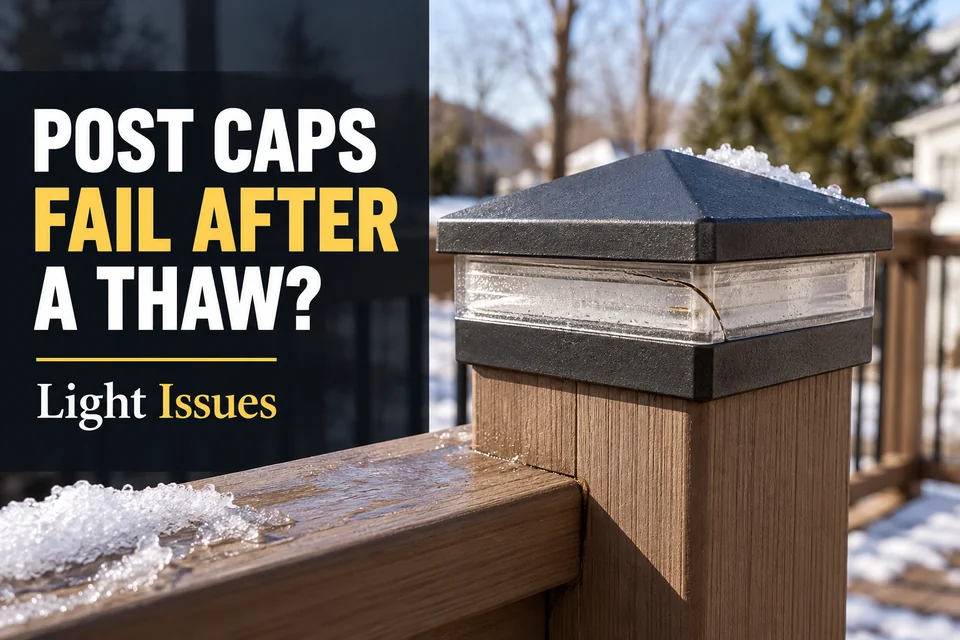
A deck post-cap light stops working after a thaw, and one corner of its cover now sits higher than before. Start with that changed joint. Water retained around an enclosure detail may have frozen and stressed the surrounding parts, leaving damage that remains after the ice disappears.
The first decision is whether the lens, housing, and closures can still form their intended enclosure. Winter timing alone does not prove freeze damage. A crack or persistent gap requires attention even if the light dries out and starts working again.
Where Freeze Expansion Damages a Post-Cap Light
Start where water can remain confined: a recessed lens edge, beneath an overlapping cover, or inside a cavity that has admitted moisture. Water on an exposed top surface has room to move; water trapped between closely fitted parts may exert pressure as it freezes.
Freezing water expands. Where surrounding material constrains that expansion, it can stress a lens edge, retaining feature, housing corner, or sealing joint. Repeated wetting and freezing may worsen an existing weakness, although a visible crack cannot establish when or how the damage began.
General moisture problems around deck-post lights can involve the mounting surface and moisture arriving from elsewhere. For a cap that has changed after freezing weather, concentrate first on whether its own enclosure has cracked, distorted, or lost a sound closure.
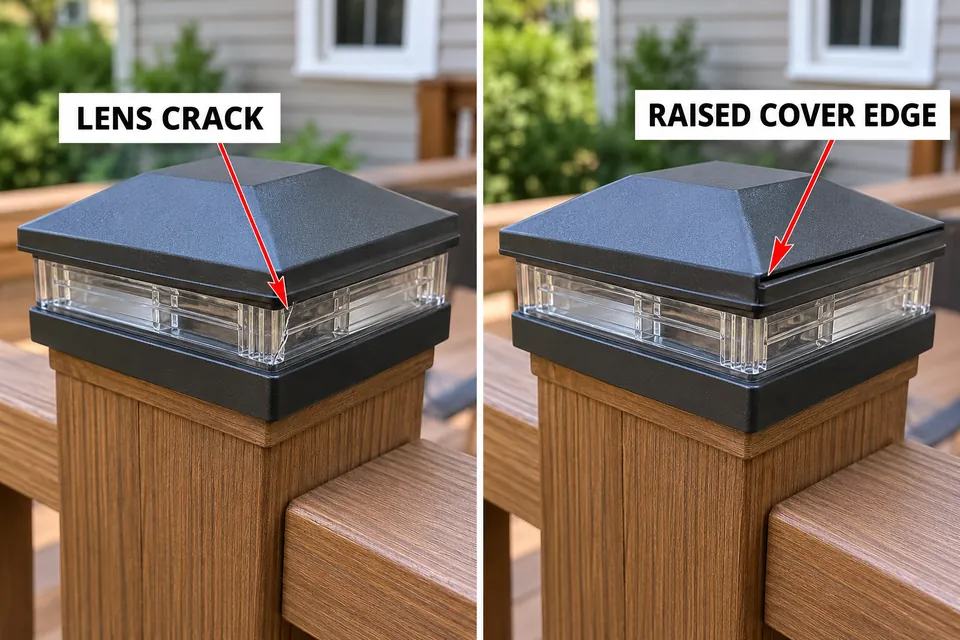
Look for a crack crossing the lens edge, a separated housing corner, or a cover that remains uneven after thawing. Exterior frost does not establish that water froze inside. An old impact crack, deteriorated seal, or assembly defect may also have existed before the cold weather.
Let an ice-bound cap thaw without prying or forced heating. Trying to free a frozen cover can create the damage you are trying to identify. Once accessible, prioritize persistent changes at the joint over the amount of snow that was sitting nearby.
Lens, Battery Compartment, and Wire Entry Differences
Choose the inspection point from the fixture’s actual construction. Solar and wired post caps may look similar from above while using different access arrangements underneath. A sound lens does not rule out a damaged compartment door or cable-entry fitting.
Before permitted access, isolate the wired fixture’s supply at its source; for solar models, follow the manufacturer’s shutdown and battery-isolation instructions. Work in dry conditions and leave sealed assemblies closed.
Lens and Cover Joint
Follow the accessible lens perimeter and look for cracks, chipped retaining edges, broken clips, or unexpected separation. Compare the joint with its intended fit: some covers have a deliberate overhang or visible seam.
A raised edge can indicate misalignment or seal displacement, but it does not reveal the condition of a concealed gasket. Where the assembly is serviceable, a gasket that will not seat correctly needs a separate fit check before the cover is fastened.
Check the surrounding seat as well. An intact gasket cannot compensate for a cracked retaining lip or distorted cover. Do not use extra fastener pressure to pull a visibly misaligned assembly together.
Battery Compartment
On a cap with a user-accessible battery compartment, inspect the door, latch, and sealing edge according to its instructions. A broken latch or distorted door can leave the compartment vulnerable even when the upper lens looks normal.
Moisture here does not, by itself, diagnose a failed battery. Keep this inspection focused on the closure. Battery leakage, swelling, or damaged contacts requires separate assessment rather than further attempts to dry and reuse the compartment.
Wire Entry
On a wired cap, inspect only accessible enclosure material and the visible entry fitting or grommet. Look for cracking around the opening, separation, or a fitting that no longer sits in its intended position.
Do not tug on the cable to test the seal or open hidden connections. If evaluating the entry requires disturbing wiring, stop at the fixture’s service instructions or obtain qualified assessment.
Why the Failure Appears After a Warm Day
A thaw can expose an earlier enclosure problem. Water frozen in a recess becomes mobile as it melts and may pass through a compromised joint or move toward vulnerable components inside the cap.
That makes delayed failure plausible, but it does not prove a hidden water route. A light that stopped after warming provides a timing clue. That timing combined with a newly documented enclosure defect gives stronger grounds for investigating freezing-related damage.
Compare the scope of the outage before attributing every failure to a cap. Several wired lights going out together, without individual enclosure damage, may require broader supply diagnosis. A solar cap’s reduced cold-weather performance also does not establish a cracked housing.
Photographs of the joint before and after the season can help identify a change. Without that comparison, describe a crack as newly noticed rather than assuming it formed during the latest freeze.
Drying vs Permanent Damage
Base the service decision on what remains damaged after thawing. Drying cannot repair a cracked lens, broken retaining tab, warped cover, or permanently deformed seal.
An apparently intact exterior is not conclusive either. Concealed electrical parts may still be wet or damaged, and visible droplets can disappear before the fixture’s internal condition has been assessed.
A manufacturer-approved replacement lens, cover, or gasket may be sufficient when the fixture is designed for that service and its mating surfaces remain sound. Match the actual model and specified component. A displaced seal that can be correctly repositioned is a different problem from one that remains torn, distorted, or unable to fit its seat.
When the damaged portion is integral to the housing, or the approved replacement part is unavailable, repairing or replacing the damaged outdoor light depends on whether its enclosure can be properly restored. Repeatedly pressing a lifted cover back down does not resolve a broken retainer or distorted sealing surface.
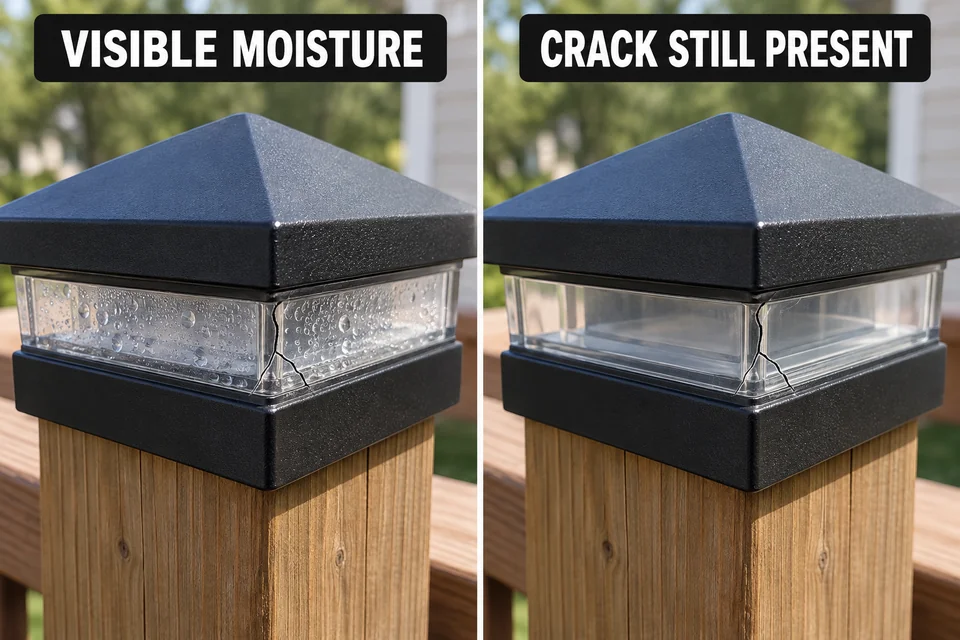
Corrosion, persistent malfunction, or moisture at electrical components requires assessment beyond the enclosure. Installing a new seal does not undo damage that has already occurred inside. Keep an unresolved fixture out of service rather than repeatedly powering it to see whether drying has helped.
Avoid covering cracks with caulk, substituting generic seals, drilling drainage holes, or accelerating drying with a heat gun or oven. Those changes can damage materials or alter the enclosure’s intended protection.
If replacement is necessary, confirm the cap’s mounting fit, intended weather exposure, and compatibility with the existing electrical system where applicable. A matching appearance alone does not establish compatibility.
Preparing Post Caps Before the Next Winter
Revisit the location that held water before the next freezing period. A cap that repeatedly stays wet at one cover corner deserves attention there, even if it has operated throughout summer.
- Inspect enclosure edges: Check the lens perimeter, cover joints, and permitted access closures for cracks, displacement, or damaged retaining parts.
- Remove water-holding debris: Clear accessible buildup around the cap while preserving manufacturer-designed drainage and ventilation features.
- Resolve damaged components: Arrange approved seal, cover, or fixture replacement before further freezing exposure.
- Recheck after a substantial thaw: Revisit previously affected joints for renewed separation or visible moisture.
Not every post cap has drainage openings. Do not drill new ones or assume an unfamiliar opening should be sealed.
An unresolved crack or a closure that no longer fits keeps the cap on the service-or-replacement path. Returning light output does not change that boundary: the enclosure still needs to close as designed, and any internal damage must be addressed before reuse.
The USGS explanation of water’s density and expansion when it freezes provides the physical basis for this mechanism.