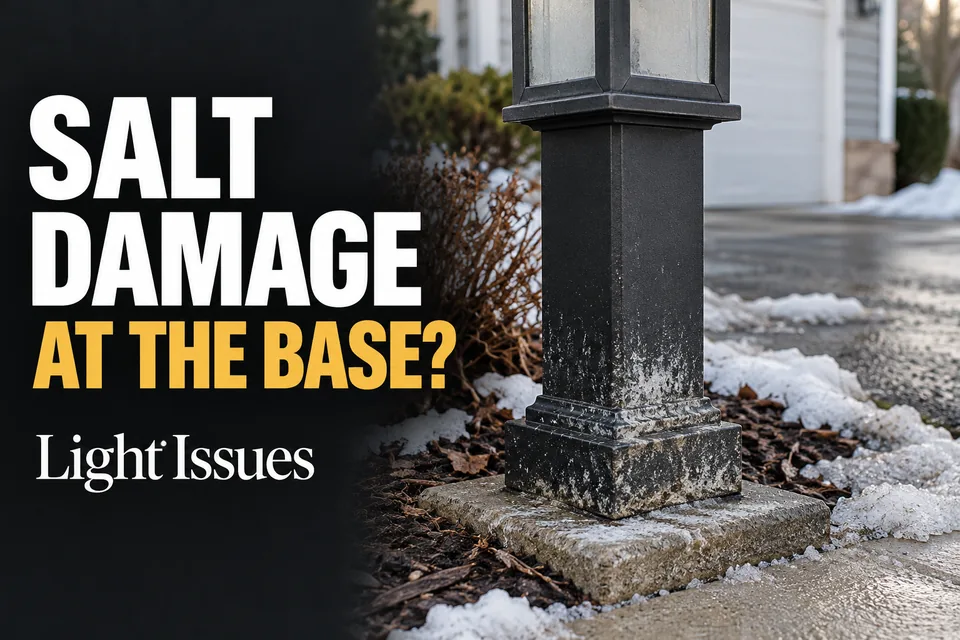
A driveway light can look sound higher up while its lower base develops rough patches, peeling finish, or rust-colored streaks. When deterioration is strongest on the side facing treated pavement, deicer-contaminated splash is a plausible contributor. Compare that face with the sheltered side before deciding the entire fixture needs replacement.
The repair decision depends on two things: what remains after gentle cleaning and whether the base will keep receiving salty splash. Removing residue cannot restore missing coating or metal, while replacing a damaged base leaves the exposure unchanged. Establish both conditions before choosing finish repair, a mounting change, or replacement.
Why the Damage Starts at the Splash Line
Repeated contact concentrates damage. Passing tires throw dirty meltwater toward the same lower surfaces, while shoveled or plowed snow can hold contaminated slush against the base. Existing scratches and chipped coating give that exposure a vulnerable starting point.
Look for an irregular band rather than a perfectly level line. Compare the driveway-facing surface with the back of the base, then compare the lower stem with higher areas. Heavier deposits and deterioration toward the pavement support a splash-related explanation, particularly when they follow winter treatment.
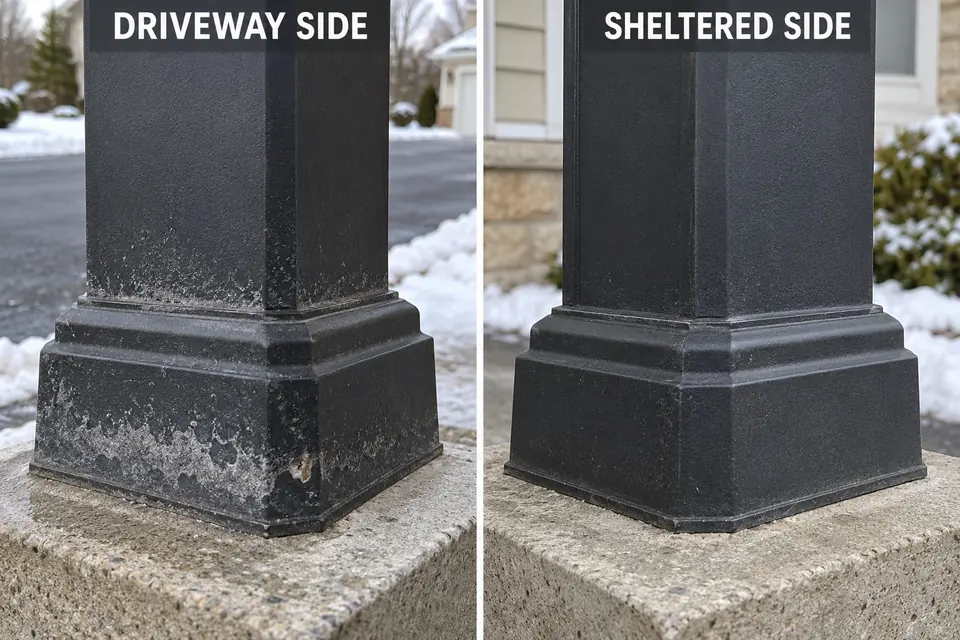
Check where snow is actually piled. A base behind the pavement edge may escape direct tire spray yet remain surrounded by dirty snow after every clearing. Conversely, widespread deterioration well above the splash area deserves a broader explanation than driveway deicer alone.
Coastal salt arrives through airborne exposure; this pattern centers on contaminated splash and slush near treated pavement. The two can overlap, but neither the location nor the color of a deposit proves its chemistry.
Salt Film vs Ordinary Dirt
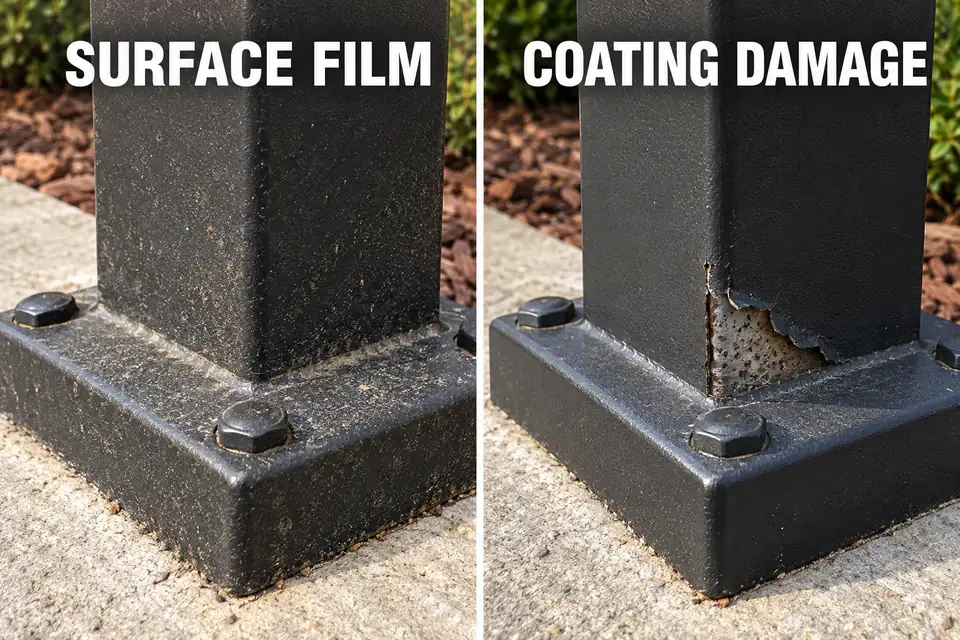
Judge the surface beneath a deposit before deciding how aggressively to clean it. Deicer residue can mix with soil, grit, and road dirt into a gray film. White material can also be mineral residue, chalking paint, or corrosion products from the underlying metal.
With power isolated and the closed exterior confirmed suitable for routine cleaning, gently wipe a small intact area using a soft cloth dampened with fresh water. Material lifting onto the cloth shows that some contamination is removable; it does not identify that contamination as salt.
Inspect what remains. A continuous coating beneath the film presents a different problem from blistering, flaking edges, exposed substrate, or small cavities in the metal. A rough patch that remains after gentle wiping needs assessment, not harder scrubbing.
Exterior deposits also tell you little about hidden components. If the light flickers, trips protection, or has known internal damage, corrosion affecting electrical connections requires a separate assessment; washing the base does not resolve it.
Use the wipe check to distinguish surface contamination from persistent deterioration. It cannot confirm that every crevice is salt-free or establish the condition inside the fixture.
Base Material and Finish Failure
Identify the base material before choosing a finish repair. A painted silver surface may conceal steel, aluminum, or another substrate, and a decorative sleeve may differ from the mounting hardware beneath it. Fixture documentation is more reliable than appearance.
On coated steel, rust can develop where the protective layer has failed. Aluminum does not form ordinary iron rust, but it can develop pale corrosion products and localized pitting. Neither condition should be diagnosed from color alone: a rusty fastener can stain an adjacent surface made from a different material.
| Base material | Useful observation | Decision limitation |
|---|---|---|
| Coated steel | Rust emerging at chips, seams, or lifting coating | Removing stains does not establish how much steel remains |
| Coated aluminum | Pale deposits, blistered finish, or pits beneath damaged coating | White residue alone cannot distinguish corrosion from surface contamination |
| Stainless steel | Persistent staining or localized pits, especially around crevices | “Stainless” does not establish chloride resistance; grade and condition matter |
| Nonmetallic/composite with metal hardware | Sound or cracked base material alongside deteriorating fasteners | A noncorroding base body does not protect every mounting component |
A lifted coating edge matters because deterioration may extend beneath apparently sound paint. Cleaning can expose that boundary, but it cannot bond loose coating back to the substrate or fill metal lost to pitting.
Check the mounting area without forcing or dismantling it. If fixture screws have rusted in place, treat that as a separate service-access problem rather than an invitation to twist harder against a weakened base.
An intact base with a small finish defect may qualify for manufacturer-approved touch-up. Preparation and coating compatibility matter; painting over contamination or loose finish can conceal continuing deterioration. Where metal loss affects mounting points, or its extent is uncertain, have the base assessed before treating the damage as cosmetic.
Cleaning Without Driving Water Into the Fixture
Clean only an exterior that is intact enough for routine care. Holes, damaged covers, or weakened mounting change the task from residue removal to damage assessment. For a sound, closed fixture, controlled wiping lets you remove contamination without directing water toward openings.
- Isolate power and let the light cool. Disconnect the appropriate supply so a timer or photocell cannot switch it on. Check the fixture’s care instructions before choosing a cleaner.
- Inspect the closed exterior. Stop if you see perforation, loose mounting, damaged covers, or exposed electrical parts. Those conditions require assessment before cleaning.
- Lift loose grit gently. Use a soft cloth or soft brush without grinding particles across the finish. Do not scrape at lifted paint.
- Remove the film with controlled wiping. Where permitted, use a mild soap solution and a soft cloth, then remove loosened residue with fresh-water-dampened cloths. Change the water and cloth surface frequently instead of spreading contamination around the base.
- Dry and reassess. Dry accessible exterior surfaces and inspect the remaining coating and metal. Follow the manufacturer’s conditions before restoring operation; exterior dryness does not establish the condition inside.
Do not use a pressure washer, soak the base, or direct a hose into seams. Keep electrical compartments closed. Acids, vinegar, abrasives, wire brushes, and protective sprays are not universal solutions; they may damage a particular finish or affect other components.
Choose conditions in which cleaning water will not freeze. Recheck after substantial winter splash or slush contact. Deposits returning to the same band show where exposure reduction needs to work, even when cleaning removes them successfully.
Raising, Shielding, or Replacing the Light
Raise the Vulnerable Base, Not Just the Lamp
A taller stem can lift the light source while leaving the corroding base beside the pavement. Judge a proposed height change by the new position of the vulnerable component: will it still receive tire spray or sit in the same snow pile?
Setback or a manufacturer-approved mounting arrangement may reduce that contact more effectively. There is no universal safe elevation because spray, snow placement, driveway geometry, and fixture construction vary.
Any change must preserve stability, cable protection, designed drainage, and service access. Do not perch the fixture on loose blocks, reduce stake engagement, or pull on attached wiring to gain height. Hardwired relocation and changes to the mounting assembly belong with a qualified installer.
Shield Only If Splash Is Actually Reduced
A shield is useful only when it intercepts the relevant exposure without creating another problem. A tight wrap around the base can retain wet grit and slush; a barrier can also redirect meltwater toward the mounting point.
Keep designed drainage and access clear. A shield must not obstruct useful light or introduce an obstacle where vehicles, snow-clearing equipment, or pedestrians pass. If protection requires enclosing the base or crowding the driveway edge, investigate changing the location.
Replace When Cleaning Cannot Restore the Base
Perforation, cracks, substantial metal loss, and weakened mounting are beyond routine finish care. A replaceable base component may be available, but compatibility and the condition of the remaining assembly need confirmation. Continued illumination does not prove the support or enclosure remains serviceable.
For a replacement, check documented base material, coating system, exposed hardware, and suitability for the anticipated exposure. Understanding outdoor fixture exposure ratings helps with moisture selection, but a wet-location or IP rating alone does not establish resistance to deicing salts.
Keep a sound base in service through appropriate cleaning and reduced contact; have persistent coating failure assessed for an approved repair. When the base has lost integrity, replacement must address the mounting condition as well as the damaged part. Before installing it, identify what will keep the new base out of the same recurring splash or slush.
The Minnesota Department of Transportation explains that chloride deicers can corrode metal components, supporting the need to address repeated salt contact.