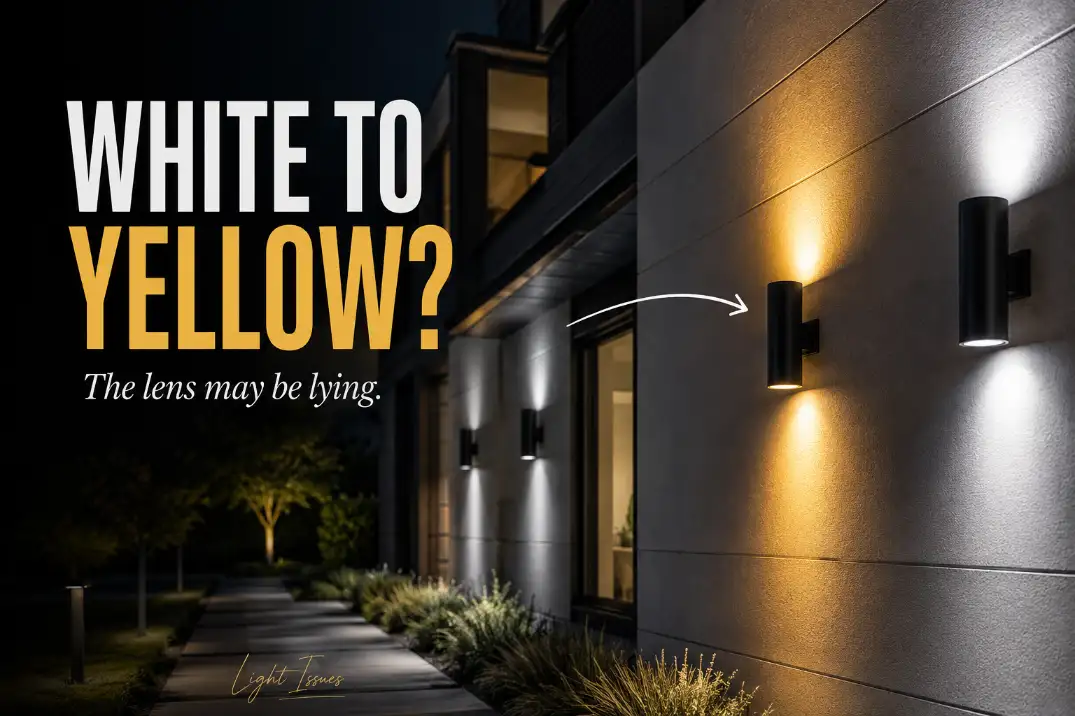
Outdoor LED lights usually turn yellow for one of four reasons: they were the wrong color temperature from day one, the lens has yellowed, the LED package has shifted color, or moisture and heat have started damaging the fixture.
The fastest test is to compare the light after it has been on for 15 minutes, not the first few seconds after startup.
If the light was yellow when new, check the Kelvin rating first. A 2700K–3000K outdoor LED is supposed to look warm.
If it became yellow over months or after one or two hot summers, suspect heat stress, diffuser aging, or phosphor shift.
If only one fixture in a matching group changed color, the timer, photocell, or motion sensor is less likely than the fixture itself.
The important distinction is this: yellow light is the symptom. The mechanism may be outside the LED, inside the optical lens, or deep in the LED package where cleaning and resetting controls cannot reach.
First Separate the Four Look-Alikes
Most wrong repairs happen because several different problems look similar from the driveway. Before replacing parts, separate the pattern.
Yellow from day one
If the fixture looked yellow immediately after installation, the most likely cause is not failure. It may be a warm white LED, an amber bug-reducing bulb, a decorative low-CCT fixture, or a smart/dim-to-warm setting.
A 2700K porch light can look golden next to a 4000K garage light even when both are healthy. That is a selection mismatch, not color shift.
Yellow after months of use
A fixture that started white and slowly became yellow is more suspicious. Outdoor LEDs that run 6–10 hours per night collect heat hours quickly, especially on enclosed porches, west-facing walls, and tight housings with poor airflow.
In this case, the likely causes are heat-stressed LED materials, a yellowed diffuser, or aging phosphor inside the LED package.
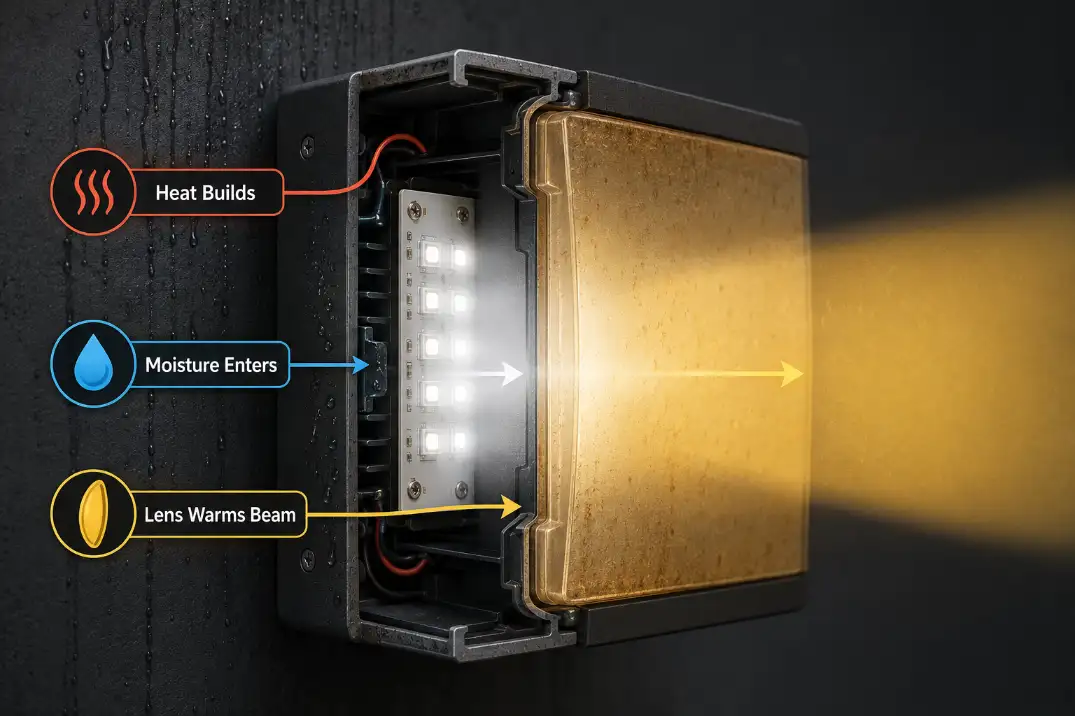
Yellow after rain or humidity
If the light looks worse after rain, fog, sprinkler exposure, or freezing weather, look for moisture. Condensation, mineral deposits, and corrosion can all make the beam look muddy or warmer than normal.
This pattern is especially common in humid climates, coastal areas, and fixtures near irrigation spray. If water exposure is part of the story, the issue may connect with broader Moisture Damage in Outdoor Lighting Explained rather than simple color preference.
Yellow and dim together
If the fixture is both yellow and noticeably weaker, do not treat it as only a color issue. The LED may be aging, the driver may be stressed, or the fixture may be at the weak end of a low-voltage run.
When the whole run looks warmer and duller, especially far from the transformer, compare it with symptoms described in Voltage Drop in Outdoor Lighting Systems. A single yellow fixture points one way; a whole dim run points another.
Why Outdoor LEDs Shift Toward Yellow
LEDs do not create white light in the same way an old incandescent bulb does. Many white LEDs use blue LED energy combined with phosphor material to create a white-looking output.
When heat, age, moisture, or optical materials change that balance, the light can drift warmer, greener, bluish, purple, or dull.
Yellow is common because several failure paths push the fixture in that direction: browned diffuser material, degraded silicone, phosphor imbalance, or mineral film over the lens.
A bluish or purple cast can also point to phosphor or LED package failure, especially when one fixture in a matching group looks different from the rest.
Heat is usually the first suspect
Outdoor fixtures often trap more heat than people expect. A wall light mounted against brick, siding, or stucco may have little airflow behind it. A sealed decorative fixture can hold heat around the LED board, especially if the lamp is brighter than the housing was designed to handle.
A fixture operating through a summer evening can sit in an environment where nearby exterior surfaces remain above 90°F–100°F. That does not mean immediate failure, but it does speed up material aging.
Pro Tip: If a fixture feels uncomfortably hot near the lens or housing after 30 minutes, do not solve the problem by installing a brighter lamp. More light output often adds more heat.
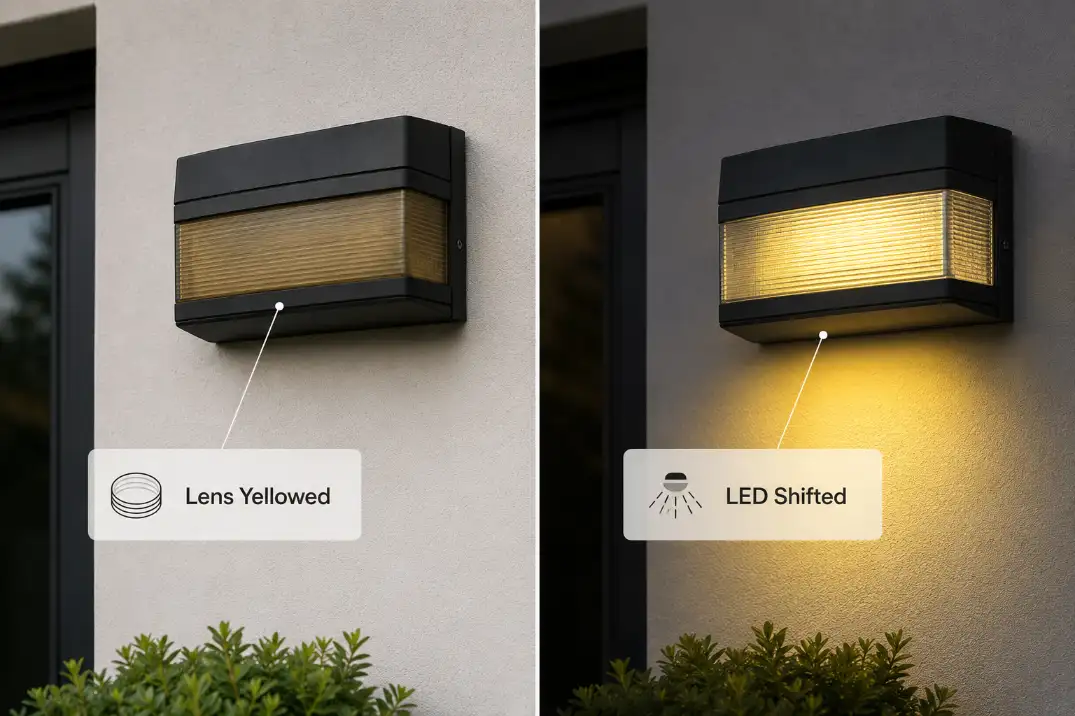
The lens may be changing the color
Sometimes the LED is not the first part to fail. Plastic diffusers, acrylic lenses, gaskets, and internal reflectors can yellow before the LED package itself is badly degraded.
This is easy to test. Turn the fixture off during daylight and look at the lens. If it appears amber, brown, cloudy, or smoky while the light is off, the material is filtering the beam.
Cleaning may help if the film is on the outside. It will not restore plastic that has yellowed through UV exposure or heat.
Sprinkler spray can make this worse. A fixture within 2–3 feet of repeated irrigation impact may collect minerals that dull the lens, especially in hard-water regions.
The LED package can shift internally
When the LED package shifts, the lens may still look clear while the emitted light looks wrong. That is the more frustrating version because there may be no visible dirt, no obvious water inside, and no simple cleaning fix.
A yellow, pink, green, bluish, or purple cast from one fixture in a matching group is a strong sign that the LED engine or module has aged differently. If the fixture is integrated and sealed, replacement is usually more practical than repair.
Quick Diagnostic Checklist
Use this before buying anything:
- Compare fixtures after 15 minutes of operation.
- Check the Kelvin rating: 2700K, 3000K, 4000K, and 5000K will not match.
- Inspect the lens while the fixture is off in daylight.
- Clean only with mild soap, water, and a soft cloth.
- Watch whether yellowing appears after rain, sprinklers, or condensation.
- Test full brightness if the light is dimmable or smart-controlled.
- Treat one bad fixture differently from a whole run that looks dim.
A fixture that turns on normally and stays steadily yellow is usually not a control problem.
The Repair That Usually Wastes Time
Replacing the timer, photocell, or motion sensor often wastes time when the only symptom is color. Those parts decide when the light turns on. They usually do not make one LED fixture turn yellow while others stay white.
The same applies to random bulb swapping. A higher-lumen replacement may make the area brighter for a while, but if the housing traps heat, it can accelerate the same color problem.
This is where people commonly overestimate the value of brightness and underestimate thermal design.
If the issue is glare, harshness, or an overly blue-white look rather than actual yellowing, the better path is different. Problems like Outdoor Lighting Glare Too Harsh are usually solved with placement, shielding, lower output, or warmer CCT — not by chasing fixture failure.
Color Clues That Point to the Cause
| What changed | Likely meaning | What to do first | When replacement makes sense |
|---|---|---|---|
| One fixture turned yellow over time | LED package shift or lens aging | Compare with matching fixtures after 15 minutes | If lens is clear but beam stays yellow |
| Lens looks amber when off | UV, heat, or material aging | Clean gently and inspect in daylight | If discoloration is inside the plastic |
| Yellow after rain or sprinklers | Moisture, residue, or seal failure | Check for condensation and mineral film | If corrosion or repeated water entry appears |
| Whole run looks dim and warm | Voltage drop or overloaded system | Test voltage and transformer load | If fixture damage remains after power is corrected |
| Purple, blue, or pink cast appears | Phosphor or LED package imbalance | Compare against same model and CCT | If one fixture has visibly drifted |
| Yellow only when dimmed | Dim-to-warm or smart setting | Test at 100% brightness | Rarely, unless color is wrong at full output |
The table matters because “yellow” is not one diagnosis. It is a visible result with several possible mechanisms.
Check Smart, Dimmable, and Tunable LEDs Before Replacing
Not every color change is damage. Some outdoor LEDs are designed to get warmer when dimmed. A dim-to-warm product may look fairly white near full output but shift toward amber at 30%–50% brightness. Smart bulbs can also change color through app scenes named “warm,” “relax,” “evening,” or “security.”
Before replacing the fixture, set the light to full brightness and neutral white if the product allows it. Then compare again after 10–15 minutes. If the yellow disappears at full output, the fixture may be following a setting rather than failing.
This check is especially important for porch sconces, decorative patio lights, and app-controlled exterior bulbs. It is less useful for sealed, non-adjustable landscape fixtures that have no color control.
When Cleaning Helps — and When It Does Not
Cleaning is worth doing once because exterior film can absolutely make a light look worse. Pollen, smoke residue, dust, hard-water deposits, and salt film can all warm or dull the beam.
Use mild soap and water. Avoid abrasive pads, solvents, and harsh cleaners because they can haze plastic lenses permanently. A cleaned glass lens should look clearer immediately. A yellowed plastic diffuser usually will not.
Cleaning stops making sense when the lens itself is discolored, the inside is cloudy, or the LED output remains yellow through a clear lens. At that point, the problem is not sitting on the surface.
When Repair or Replacement Is the Better Move
Some higher-quality outdoor fixtures have replaceable lenses, LED boards, or light engines. Repair makes sense when the housing is still solid, parts are available, and there is no water damage on the LED board.
Most sealed integrated fixtures are different. If the lens is bonded, the LED module is not serviceable, or corrosion is visible, replacement is usually the cleaner fix. Trying to reseal a failing integrated fixture may delay failure, but it rarely restores color accuracy.
If several fixtures from the same batch begin shifting after similar use, the issue may be product-level aging. That pattern is closer to what happens when Outdoor LED Lights Burn Out Fast than a single random defect.
What to buy next
Do not choose the replacement only by lumens. For color stability, prioritize:
- Correct outdoor wet or damp rating for the location.
- Enclosed-fixture compatibility if the lamp sits inside a tight housing.
- Good heat sinking or an open fixture design.
- UV-resistant lens or glass rather than cheap yellowing plastic.
- Same model line, same Kelvin rating, and ideally the same purchase batch.
- Warranty language that mentions LED performance, not just “defects.”
CRI can help surfaces look better, but it does not prove the LED will stay the same color after 2–3 summers. A 90+ CRI light may render stone, wood, and plants more naturally, while a poorly cooled fixture can still shift color over time.
Pro Tip: When replacing multiple visible fixtures, replace the group together if the budget allows. Mixing old and new LEDs often makes small color differences more obvious.
When Yellow Outdoor Light Is Intentional
Yellow outdoor light is not always a defect. Amber bug lights, low-glare warm path lights, turtle-conscious coastal lighting, and decorative porch bulbs may be intentionally warm. In those cases, consistency is the clue.
Bug lights are supposed to look yellow. Failed white LEDs usually become yellow unevenly, slowly, or only in one fixture. A full set of 2200K–2700K fixtures can look warm by design. One garage light turning yellow while the matching lights stay neutral white is not design; it is a mismatch or failure.
This is also where brightness complaints can become misleading. Warm light can feel softer even when lumen output is adequate. Cool light can feel brighter and harsher at the same output.
If the yard still has dark areas after changing color temperature, placement may matter more than color, especially in layouts similar to Outdoor Lights Bright Spots and Dark Gaps.
Bottom Line
Outdoor LED lights turn yellow because the selected color temperature, the control setting, the lens, or the LED package is changing what reaches your eye.
The most useful question is not “Why is it yellow?” It is “Was it always yellow, or did it become yellow?”
If it was yellow from day one, check Kelvin rating, amber bulb design, and dim-to-warm settings. If it became yellow over months, inspect the lens, heat exposure, moisture history, and whether only one fixture changed.
If the lens is permanently amber or the LED beam stays yellow through a clear lens, cleaning and control resets are unlikely to fix it.
For broader official guidance on LED color maintenance and long-term color stability, see the U.S. Department of Energy.