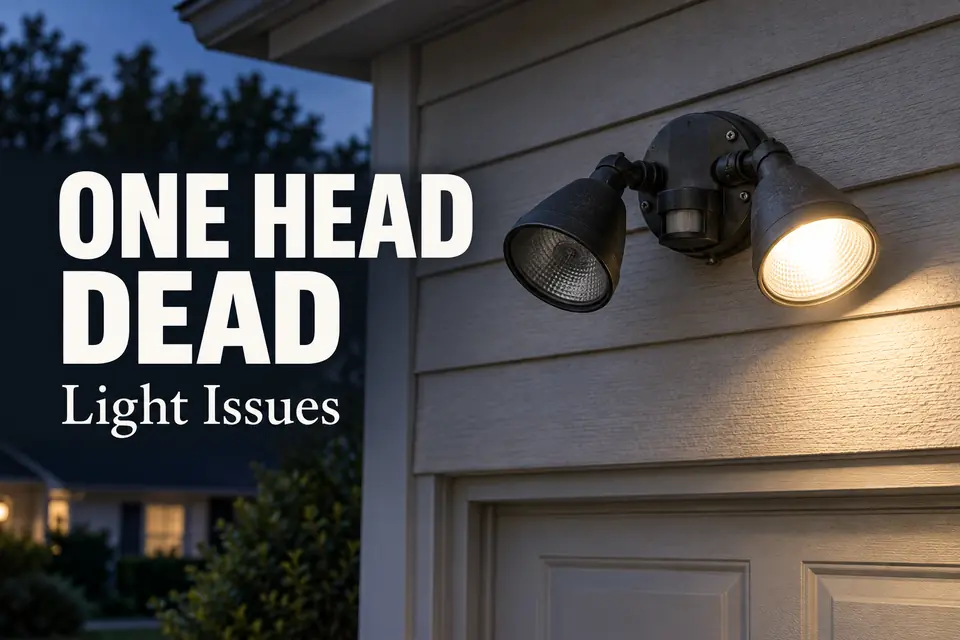
Treat the working head as a built-in control. It shows that the dual-head floodlight receives power and that any shared switch, photocell, or motion control can activate at least part of the unit. That makes a head-specific component—not the entire supply path—the stronger starting point for diagnosis.
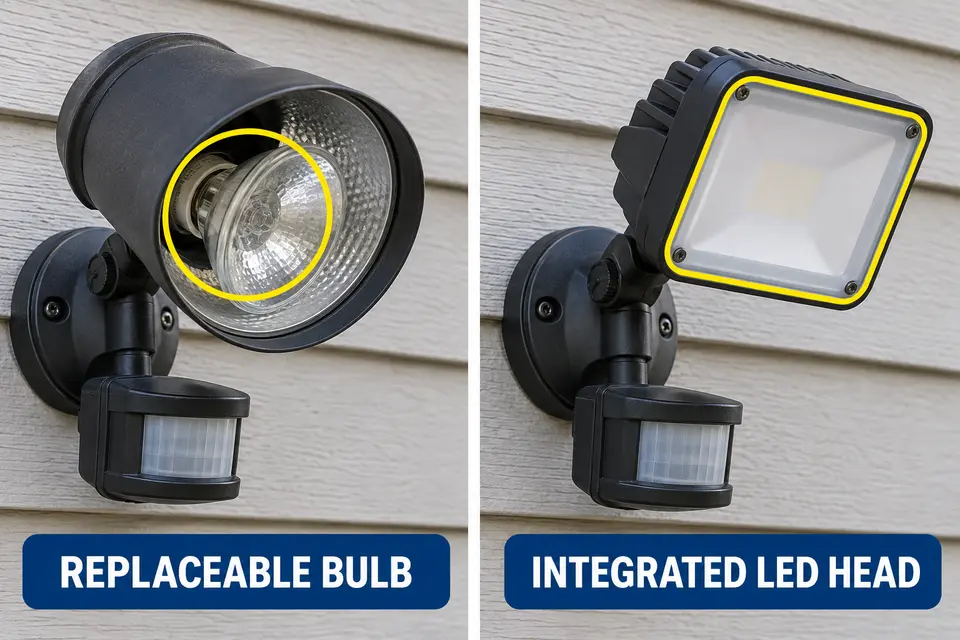
That does not prove the entire fixture is electrically sound. Each head can have its own bulb, socket, LED module, driver section, aiming joint, and short internal lead. Start by identifying whether the fixture accepts replaceable bulbs or uses sealed integrated LED heads. Before touching either head, switch off the circuit at the breaker and let the fixture cool.
Shared Power, Separate Heads
Start where the shared path divides, not back at the breaker. A conventional dual-head floodlight has one supply entering the mounting base, then separate paths serving the two heads. A motion sensor or photocell may control both at once. If one head illuminates normally, repeatedly resetting the breaker or adjusting the sensor does not isolate the asymmetrical failure.
The division after the shared control matters. One branch may end at a screw-in socket, while an integrated fixture may contain separate LED boards or driver outputs for each head. A loose connection or damaged lead can also affect only the adjustable head it serves. If both heads are dead, use the broader outdoor floodlight failure diagnosis instead, because the common supply and controls then return to the center of the investigation.
Field Check: One operating head confirms partial operation, not that every internal connection is intact. Keep the inspection limited to power-off, externally accessible parts unless the fixture documentation identifies a serviceable component.
Also observe the pattern before dismantling anything. A head that is always dead suggests a failed bulb, socket, module, or fixed connection. A head that flashes when aimed or moved points more strongly toward the joint, strain relief, or a connection behind it.
Swapping Known-Good Bulbs
A new bulb is not the cleanest first test; the fixture already provides a known-good one. If both heads use the same replaceable bulb type, turn off the breaker, wait for them to cool, and confirm from the fixture markings that both positions accept the same bulb type and rating.
Remove the working bulb carefully and place it in the dead-side socket. Seat it normally; forcing an extra turn can damage the bulb base or socket contact. Restore power only after both heads are closed or reassembled as their design requires.
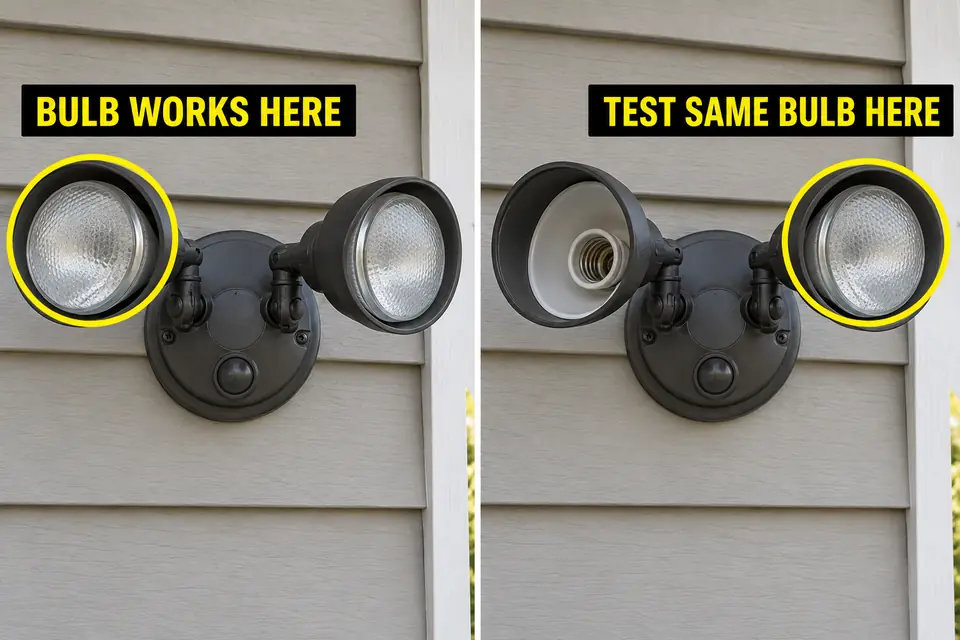
If the known-good bulb lights on the formerly dead side, that socket and its supply path can operate; the removed bulb is the likely failed part. To cross-check an intact suspect bulb in the working side, switch the breaker off again before moving it. If it remains dark there, the result is reinforced.
If the known-good bulb does not light in the dead-side socket but works again when returned to its original side, stop buying bulbs. The fault has moved downstream to the dead-side socket, connection, or head assembly. Stop the swap entirely if a bulb is seized, its glass is separating from its base, the socket is deformed, or there is visible heat damage.
Socket vs Integrated LED Head Failure
Construction now decides what “repair” can mean. A replaceable-bulb model gives access to a socket; a sealed integrated LED model may offer no homeowner-serviceable light source at all. A trim ring or visible screws do not prove that an LED head was designed to be opened.
For a Socketed Head
With the breaker off, use a flashlight to compare the dead-side socket with the working one. Look for heavy corrosion, darkened metal, a flattened or displaced center contact, cracked insulating material, looseness, or heat deformation. A socket can also look fairly normal and still have an electrical discontinuity, so appearance alone cannot clear it.
Do not pry up a contact, scrape aggressively inside the socket, or probe it while energized. If the known-good bulb remains dark and the accessible socket shows no safely correctable seating issue, deeper diagnosis may require appropriate test equipment and electrical competence. The separate guide to a powered outdoor socket that will not light a bulb explains why apparent power and usable contact under load are not the same finding.
For an Integrated LED Head
An integrated head combines the LEDs with electronics that may be sealed against weather. Depending on the design, each head may have its own driver section, or both may share electronics with separate outputs.
One illuminated head therefore does not rule out a localized LED board, driver-output, or internal connection failure. Nor does a fixed lens prove that a compatible complete head can be purchased separately.
Visible burning, a swollen or separated housing, persistent condensation, or a head that died after flickering strengthens the case for component failure, but it does not identify the exact sealed part. The patterns associated with outdoor LED driver failure can help interpret earlier flickering or unstable output without turning this inspection into driver replacement.
Mini decision matrix
- Known-good bulb lights in the dead-side socket: The original bulb is the likely fault. Replace it with a compatible type.
- Known-good bulb stays dark in that socket: The socket or head-side connection becomes the focus. Stop swapping bulbs and inspect only with power off.
- One sealed integrated head remains dead: The LED head, driver section, or its internal path may have failed. Check whether a listed replacement head exists.
- Housing, socket, or joint is heat-damaged: Treat the fixture assembly as compromised. Leave it off and move to professional evaluation or unit replacement.
Aiming Joint and Internal Lead Clues
Movement is useful here only as a clue. Each head pivots on an aiming joint, and a short insulated lead passes through or behind that area. Normal aiming should not interrupt operation. If the dead head flickers or briefly illuminates as its angle changes, the response localizes the problem; it does not repair it.
With power off, compare the two joints externally. Look for a loose locknut, cracked joint, separated housing, damaged strain relief, corrosion at the interface, or a head that sags instead of holding its position. Do not pull on the head or repeatedly sweep it through its full travel to reproduce the fault. That can stress an already damaged lead.
A similar movement-sensitive pattern can appear when vibration or wind changes whether an outdoor light operates. Here, however, the key comparison is between two heads on the same base: if only one reacts to movement, the fault is more likely localized at that head or joint than at the wall switch or shared sensor.
An internal lead should not be spliced, lengthened, or repositioned as a trial repair. If operation depends on holding the head at a particular angle, leave the circuit off until the head or fixture can be properly evaluated.
When One Dead Head Means Replacing the Unit
The replacement boundary is set by serviceability, not simply by which part is dark. A bulb-only fix is justified when the known-good bulb operates in both sockets, the suspect bulb fails in both, and neither socket shows damage. Replacement can then stay limited to a compatible bulb within the fixture’s marked rating.
A socketed head is not automatically repairable just because its bulb comes out. Heat distortion, a cracked insulator, deep corrosion, loose attachment, or damage extending into the head makes a simple bulb replacement inappropriate. An integrated LED head can be replaced separately only when the manufacturer designed the fixture for that work and supplies a listed, compatible head.
Complete-unit replacement is usually the clearer path when the integrated head is sealed and nonserviceable, the correct head is unavailable, movement changes operation, the joint or housing is damaged, or the weather seal has failed. The same applies when accessing the suspected fault would require modifying internal leads rather than installing a documented replacement component.
Fixture condition still matters. If the working head or mounting base also shows deterioration, replacing one component may preserve a unit close to another failure. The framework for deciding whether an outdoor light is worth repairing helps weigh that condition without turning this diagnosis into a product search.
The useful stopping rule is simple: continue only while the comparison isolates an accessible, documented service part. Once diagnosis reaches a sealed head, damaged socket, internal lead, or energized test, the working side has done its job as a control. If damage reaches the mounting base or supply connections, keep the circuit off and have a qualified electrician evaluate it.
For general home electrical work, the Electrical Safety Foundation International advises switching off the circuit breaker and recognizing when the job should go to a qualified electrician in its DIY electrical safety guidance.